Castlevania: Belmont's Curse Works of Mercy and Arcana Blessings
A Work of Mercy in Castlevania Belmont’s Curse is a challenge tied to one Arcana, and each one earns that card a Blessing that changes how its spell behaves. Our maps place six across four Arcana: four in Paris Streets, one in the Palace of Justice, and one in the Library. Three of the Paris four are open by the time The Fallen is down, so begin with the Castlevania Belmont’s Curse Paris Streets map of the Sewer Reservoir.
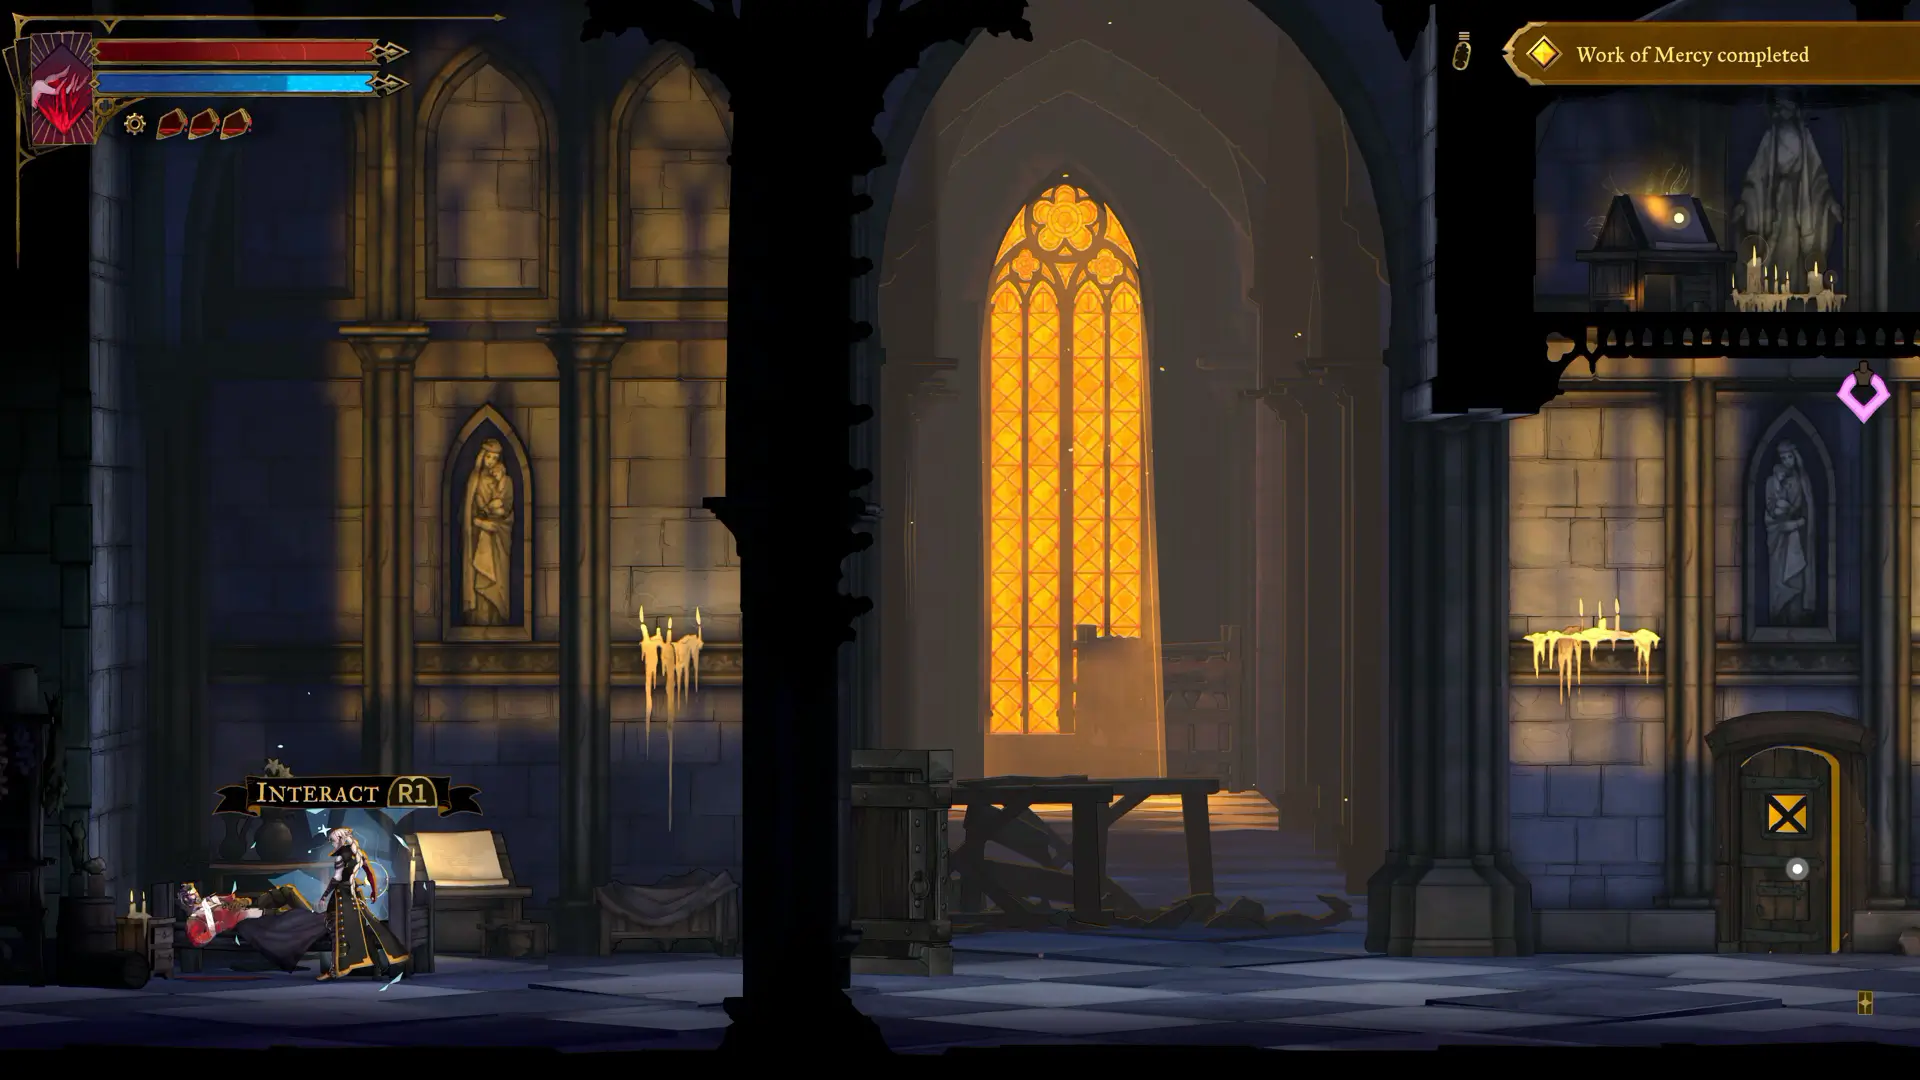
Map Master’s Alexandru Popescu worked through all six, and the Castlevania Belmont’s Curse wiki and guides keep them next to the Clue trails that unlock each card. Blood Spikes is the one that takes no effort, since its Work completes itself the moment you own two dual-blade weapons.
How Works of Mercy and Blessings Work in Castlevania Belmont’s Curse
Every completed Work of Mercy earns one Blessing, which you spend on that Arcana to unlock a Gift, an extra effect for its spell. Rose can equip only one card at a time, so a Blessing on a card you never use adds nothing in a fight. The spells behind every Arcana card help you pick which cards to invest in first.
The full game is reported to have 44 Works of Mercy behind 42 Gifts, since The Cursed has two Works but only one Gift. Unlocking every Gift is what the Pick a card, any card trophy asks for. These six cover about one in seven, spread over Cursed Flame, Holy Cross, Infernal Pyre, and Blood Spikes.
Cursed Flame and Holy Cross Works of Mercy You Can Start Early
The Cursed Flame Work only asks you to hit enemies with the spell, reportedly 20 times, and nobody has to die. It’s the card Rose starts with, and its Blessing fires a bigger fireball that nudges targets back. If your mana runs dry, melee hits and wall torches refill it, and The Cursed and its starting Arcana covers the card itself.
Both Holy Cross Works open once you have The Fallen’s Holy Cross and Arcane Whip. Ten whip kills is the slow one, since only perfectly timed pulls count, so start early and watch for the brief slowdown that confirms a hit. For five kills with one cross, use the Sewer Reservoir chest with the Cestus, which spawns a wave of monsters around you.
Infernal Pyre Works of Mercy After Joan
Infernal Pyre’s two Works wait for the Prison Tower roof, where the Joan of Arc fight for Infernal Pyre gives you the card and Holy Light together. The first asks for 15 parries with Holy Light, so tap the parry quickly instead of a long press and pull enemies apart to face them one at a time. Its Blessing refunds 25% of the 80 MP cost for each enemy the central explosion hits after the first.
That refund is 20 MP per extra enemy, so five enemies in one explosion pay back the full cast. The second Work, setting five enemies on fire at once, trains exactly that, and the Castlevania Belmont’s Curse Palace of Justice map of the battle arena leads to the room where enemies bunch up for it. Its Blessing launches anything the spell hits high into the air.
The Blood Spikes Work of Mercy and the Dual-Blade Shortcut
The Blood Spikes Work is the only one you don’t play for. It completes itself once you own two dual-blade weapons, and if you have both the Pair of Longswords and the Rapiers before Carmilla, it finishes the instant you win The Occultist’s Blood Spikes card.
You’ll find the Longswords in a hidden Catacombs room and the Rapiers past the Watch Tower’s closing iron door, both among the dual-blade weapon locations. The Library map of Carmilla’s Observatory points you to the fight, and the Blessing makes a new bleed on a bleeding enemy deal instant damage.
Castlevania Belmont’s Curse Works of Mercy: Best Order and Common Mistakes
Start with Cursed Flame and the two Holy Cross Works, since both cards are yours early and the Cestus chest gives you a ready-made crowd. Collect the two dual-blade weapons before Carmilla so Blood Spikes completes on the spot, then switch to Infernal Pyre after Joan and save the five-enemy fire for the Palace of Justice arena.
Progress counts only while the right card is equipped, so swap before you start a task rather than mid-fight. Long presses won’t register as parries, and untimed whip pulls won’t count as whip kills, so failed attempts simply don’t add up. The second cross from one Holy Cross Blessing pairs well with the distance damage from the other, so finish both before you judge the card.
| Name | Map Location | Details | Found |
|---|---|---|---|
| Blood Spikes Work of Mercy #3Notre-DameBlood Spikes Work of Mercy #3 | Notre-Dame | The Work of Mercy requires the Blood Spikes to be equipped. Your objective is to cause an enemy to bleed continuously for 10 seconds. First, find an enemy with a lot of HP (like the one in our image), then use the Blood Spikes on him. Note that you need to let him bleed for about 5 seconds and use Blood Spikes again. Make sure you have enough MP to use two Blood Spikes. Reward:
| |
| Petrifying Gaze Work of Mercy #1Clock TowerPetrifying Gaze Work of Mercy #1 | Clock Tower | The Work of Mercy requires the Petrifying Gaze to be equipped. Your objective is to petrify an enemy carrying a shield with Medusa's Spell. The trick is to get behind the enemy with the shield and quickly use the spell before the enemy turns around. Reward:
| |
| Soul Harvest Work of Mercy #2Notre-DameSoul Harvest Work of Mercy #2 | Notre-Dame | The Work of Mercy requires the Soul Harvest to be equipped. Your objective is to kill 4 enemies with the same cast of Death's spell. Simply find an area stacked with mobs and use the Soul Harvest Work of Mercy. Reward:
| |
| Masterpiece Work of Mercy #1Main HallMasterpiece Work of Mercy #1 | Main Hall | The Work of Mercy requires the Masterpiece to be equipped. Your objective is to cause 5 enemies to fall to their death with the Gargoyle Summoning Stone. You can do this in the Main Hall Notre-Dame Bridge Sub-Area. Get the red knights close to the gaps and use the Arcana while you are close to them. Reward:
| |
| Fist of Talos Work of Mercy #3Main HallFist of Talos Work of Mercy #3 | Main Hall | The Work of Mercy doesn't require the Fist of Talos to be equipped. Your objective is to kill 15 enemies with the Smash. For this one, you have to get the mobs' HP low first, position yourself above them, and then use Smash. Reward:
| |
| Stained-Glass Shield Work of Mercy #1Main HallStained-Glass Shield Work of Mercy #1 | Main Hall | The Work of Mercy doesn't require the Stained-Glass Shield to be equipped. Your objective is to kill 3 enemies with a single attack. You can quickly complete this one by striking the turret with 4 skeleton heads (see image) using a greatsword-type weapon. Reward:
| |
| Soul Harvest Work of Mercy #3Main HallSoul Harvest Work of Mercy #3 | Main Hall | The Work of Mercy doesn't require the Soul Harvest to be equipped. Your objective is to kill 44 skeletons (of any sort). This Work of Mercy should be completed naturally by playing the game and just killing skeleton-type enemies. Reward:
| |
| Stained-Glass Shield Work of Mercy #2Clock TowerStained-Glass Shield Work of Mercy #2 | Clock Tower | The Work of Mercy doesn't require the Stained-Glass Shield to be equipped. Your objective is to kill 25 Haunted Armor. This Work of Mercy should be completed naturally by playing the game and just killing Haunted Armor enemies, like the red knights. Reward:
| |
| Masterpiece Work of Mercy #2Clock TowerMasterpiece Work of Mercy #2 | Clock Tower | The Work of Mercy requires the Masterpiece to be equipped. Your objective is to kill 30 enemies with the Gargoyle Dive. After summoning a Gargoyle, press Triangle (PS5) to make it dive into an enemy. Make sure the enemy is low enough so that the dive will kill him. Reward:
| |
| Stained-Glass Shield Work of Mercy #3Clock TowerStained-Glass Shield Work of Mercy #3 | Clock Tower | The Work of Mercy requires the Stained-Glass Shield to be equipped. Your objective is to absorb an attack that would otherwise be fatal thanks to Arthur's spell. To complete this Work of Mercy, make sure you are low enough that the next attack will kill you, and use the Arcana before you get hit. Reward:
| |
| Infernal Pyre Work of Mercy #1Paris StreetsInfernal Pyre Work of Mercy #1 | Paris Streets | The Work of Mercy requires the Infernal Pyre to be equipped. Your objective is to successfully parry 15 attacks with the Holy Light. This can be tricky for players who are not used to parry mechanics, but if you isolate your enemies and do it one by one, you should be fine. On PlayStation, press L2 (don't hold) to parry, but make sure you do it at the perfect time. Reward:
| |
| Infernal Pyre Work of Mercy #2Palace of JusticeInfernal Pyre Work of Mercy #2 | Palace of Justice | The Work of Mercy requires the Infernal Pyre to be equipped. Your objective is to set 5 enemies on fire at the same time. This can be done in the battle arena in the Palace of Justice by using the Infernal Pyre when the enemies stack. Reward:
| |
| Cursed Flame Work of Mercy #1Paris StreetsCursed Flame Work of Mercy #1 | Paris Streets | The Work of Mercy requires the Cursed Flame to be equipped. Your objective is to hit enemies with the spell. Simply use it on enemies to complete the task. Do note that you don't necessarily have to kill them. If you run out of MP, use melee attacks and hit the torches on the walls. Reward:
| |
| Holy Cross Work of Mercy #1Paris StreetsHoly Cross Work of Mercy #1 | Paris Streets | The Work of Mercy requires the Holy Cross to be equipped. Your objective is to kill 10 enemies with a whip attack. This is trickier than it sounds because it requires perfect timing. On PlayStation, press R2 to grab an enemy with the Arcane Whip, then press Square just before reaching it. Tip: When executed correctly, time slows down for a second. We recommend starting this task as early as possible. Reward:
| |
| Holy Cross Work of Mercy #2Paris StreetsHoly Cross Work of Mercy #2 | Paris Streets | The second Holy Cross Work of Mercy also requires the Holy Cross to be equipped. Your objective is to kill 5 enemies with the same cross (not necessarily at the same time). This can be easily achieved after opening the Treasure Chest with the Cestus inside because you'll trigger a short combat tutorial, and several monsters will spawn around you, making this task very manageable. Simply throw your cross by pressing Triangle on your PS5 controller. Reward:
| |
| Infernal Pyre Work of Mercy #3Notre-DameInfernal Pyre Work of Mercy #3 | Notre-Dame | The Work of Mercy doesn't require the Infernal Pyre to be equipped. Your objective is to reach a sacred place so Joan can pray. So it automatically completes after going through the Strange Painting of Notre-Dame in the middle of the Gallery of Eternal Night Sub-Area to reach Notre-Dame. Reward:
| |
| Fist of Talos Work of Mercy #1Notre-DameFist of Talos Work of Mercy #1 | Notre-Dame | The Work of Mercy requires the Fist of Talos to be equipped. Your objective is to kill 3 enemies with one fist. Make sure you have enough MP and when you see at least 3 enemies grouped use the Fist of Talos next to them. Reward:
| |
| Fist of Talos Work of Mercy #2Notre-DameFist of Talos Work of Mercy #2 | Notre-Dame | The Work of Mercy requires the Fist of Talos to be equipped. Your objective is to kill 10 airborne enemies with a fist as it falls down. Find flying enemies, go under them, and use the Fist of Talos. The area of effect for the Fist of Talos is pretty big, so it is not that tricky. Reward:
| |
| Blood Spikes Work of Mercy #1LibraryBlood Spikes Work of Mercy #1 | Library | The Blood Spikes Work of Mercy unlocks automatically after obtaining two dual blade-type weapons. If you've already obtained the Pair of Longswords and the Rapiers, the Work of Mercy will unlock instantly after obtaining the Blood Spikes. Reward:
| |
| Blood Spikes Work of Mercy #2Notre-DameBlood Spikes Work of Mercy #2 | Notre-Dame | The second Blood Spikes Work of Mercy requires the Blood Spikes Arcana to be equipped. Your objective is to kill 25 enemies from bleed-effect damage. Use the Arcana on mobs and let them bleed to death. On some enemies, you might have to damage them a little before bleeding them. Reward:
| |
| Holy Cross Work of Mercy #3Deacon's QuarterHoly Cross Work of Mercy #3 | Deacon's Quarter | The Work of Mercy doesn't require the Holy Cross to be equipped. Your objective is to find 3 different whip-type weapons. You will unlock it immediately after finding your third whip-type weapon (probably the Vampire Killer, with the other 2 being the Whip and the Thorn Whip). Reward:
| |
| Soul Harvest Work of Mercy #1Notre-DameSoul Harvest Work of Mercy #1 | Notre-Dame | The Work of Mercy requires the Soul Harvest to be equipped. Your objective is to complete the hidden puzzle in Notre Dame. This means playing the correct keys (⭘ ♎︎ ♏︎ ♒︎ ♑︎ ♍︎ ☼︎ ♌︎ ♋︎ ♈︎) on the Great Organ to unlock the Drop Point on the western side of the Great Organ Room. Reward:
|

© MapMaster.io 2024. All rights reserved.